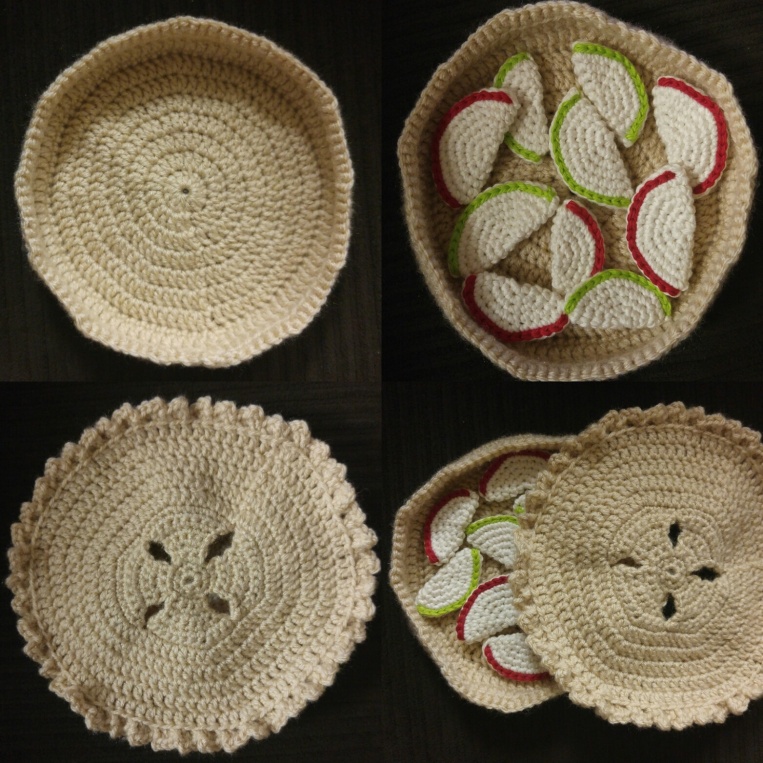
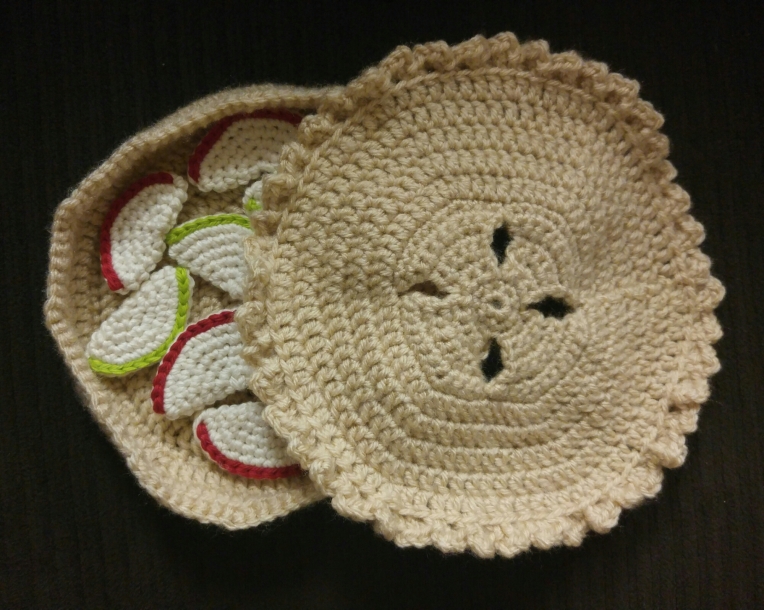
Recently I made an apple pie, kind of on a whim to challenge myself. I hadn’t seen many play food versions of pies that could be taken apart and made as part of creative play, at least not any made in crochet.
So over two nights and an afternoon I baked this adorable pastry:
I didn’t expect to get many requests for a pattern but I did, especially after it was featured on the front page of Ravelry during a spot light on play food.
So without further ado, here is the free pattern!
**And to get this out of the way, I don’t mind if these are made to sell, but please give credit to MamaBiceMakes, with either a link to here, or on Instagram, a tag to @mamabice_makes. Please do not reproduce or repost this pattern or claim it as your own. Please share your creations with me on Ravelry or in email!**
Materials:
Worsted Weight Yarns – beige/crust, ivory/Apple flesh, red and green/Apple skin.
4mm crochet hook
Yarn needle
Stitches used (US):
DC, double crochet
HDC, half double crochet
SC, single crochet
SlSt, slip stitch
Ch, chain stitch
—chain 3 counts as stitch in double crochet rounds.
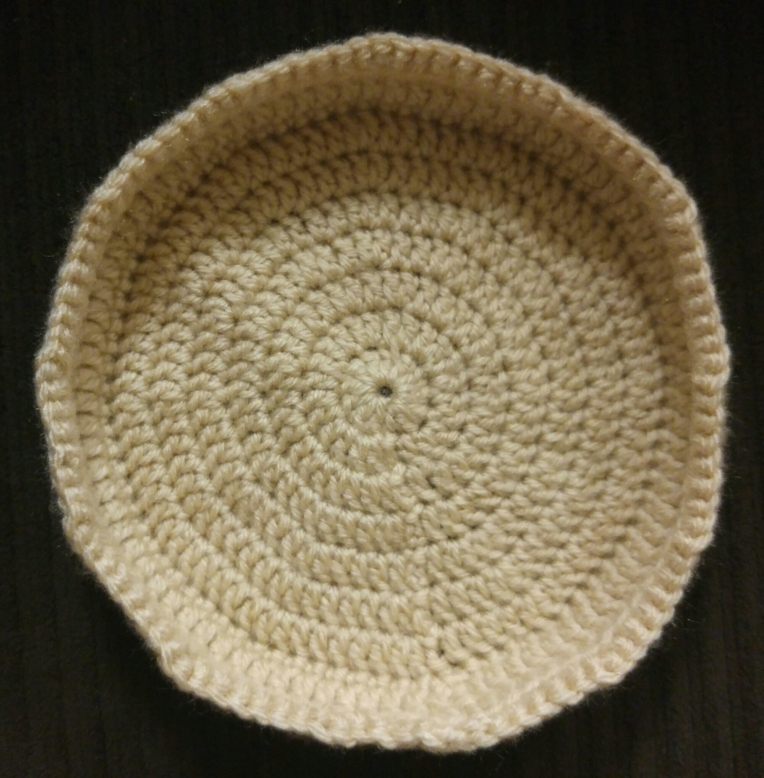
Bottom Crust: (with crust color)
R1: In magic ring, crochet 12dc (12), join with slst to first dc.
R2: Chain 3. 1dc in same stitch as chain 3, 2dc in each stitch around. Join with slst to top of ch3. (24)
R3: Chain 3. 2dc in next stitch, (1dc in next stitch, 2dc in next) around. Join with slst to top of ch3. (36)
R4: Chain 3. 1dc in next stitch, 2dc in next. (1dc in next two, 2dc in next) around. Join with slst to top of ch3. (48)
R5: Chain 3. 1dc into the next two stitches, and 2dc into the stitch after that. Work (1dc in next three stitches, 2dc in next) around. Join with slst to top of ch3. (60)
R6: Chain 3. 1dc in next three stitches, 2dc in next. (1dc in next four stitches, 2dc in next) around. Join with slst in top of ch3. (72)
R7: Chain 3. 1dc in next four stitches, 2dc in next. (1dc in next five stitches, 2dc in next) around. Join with slst in top of ch3. (84)
R8: Chain 3. 1dc in next five stitches, 2dc in next. (1dc in next six stitches, 2dc in next) around. Join with slst in top of ch3. (96)
R9: Chain 1. Sc in same stich, Sc in back loop only of each stitch around. Join to first sc
R10: Chain 3. Dc in each stitch around. Join with slst to ch3.
R11: Chain 3. Dc in each stitch around. Join with slst to ch3.
R12: Chain 1. Sc in same stitch as chain, and in next six stitches, 2sc in next. (1Sc in next 7 stitches, 2sc in next) around. (108).
Finish off and weave in end.
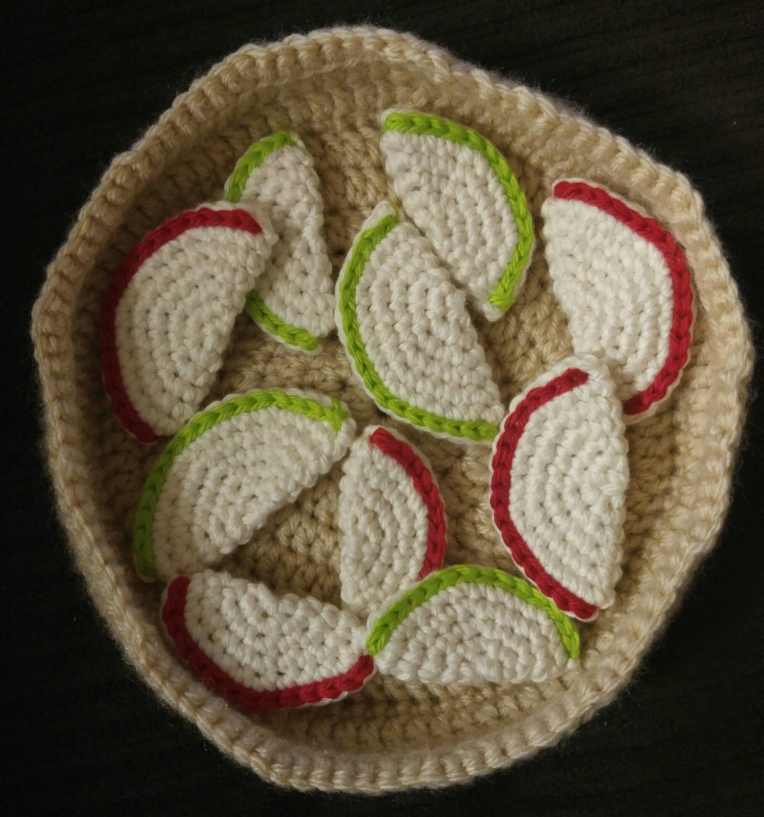
Apples: (with ivory and green/red)
I made 10 apple slices. I decided to make two sizes and edge them in two colors. This makes a sorting game for preschool age kids – size and color. Younger kids can practice counting. I mixed the colors between the two sizes too so that it wasn’t too easy for the sorting. 😉
You don’t have to do it this way, but it does add a little more play possibilities and educational opportunities during play. 👍
For Smaller Slices:
R1: 6Sc in magic ring, do not join. (work in a spiral for these slices).
R2: 2sc in each stitch around. (12)
R3: (1sc, 2sc in next) around. (18)
R4: (2sc, 2sc in next) around. (24)
R5: (3sc, 2sc in next) around. (30)
Finish off and weave in ends to back of circle. Fold in half, putting the end of the circle to the fold (this makes it line up neater). Using either green or red yarn, slip stitch the edge together. Finish off and weave in ends.
For Larger Slices:
R1: 6Sc in magic ring, do not join. (work in a spiral for these slices).
R2: 2sc in each stitch around. (12)
R3: (1sc, 2sc in next) around. (18)
R4: (2sc, 2sc in next) around. (24)
R5: (3sc, 2sc in next) around. (30)
R6: (3sc, 2sc in next) around. (36)
Finish off and weave in ends to back of circle. Fold in half, putting the end of the circle to the fold (this makes it line up neater). Using either green or red yarn, slip stitch the edge together. Finish off and weave in ends.
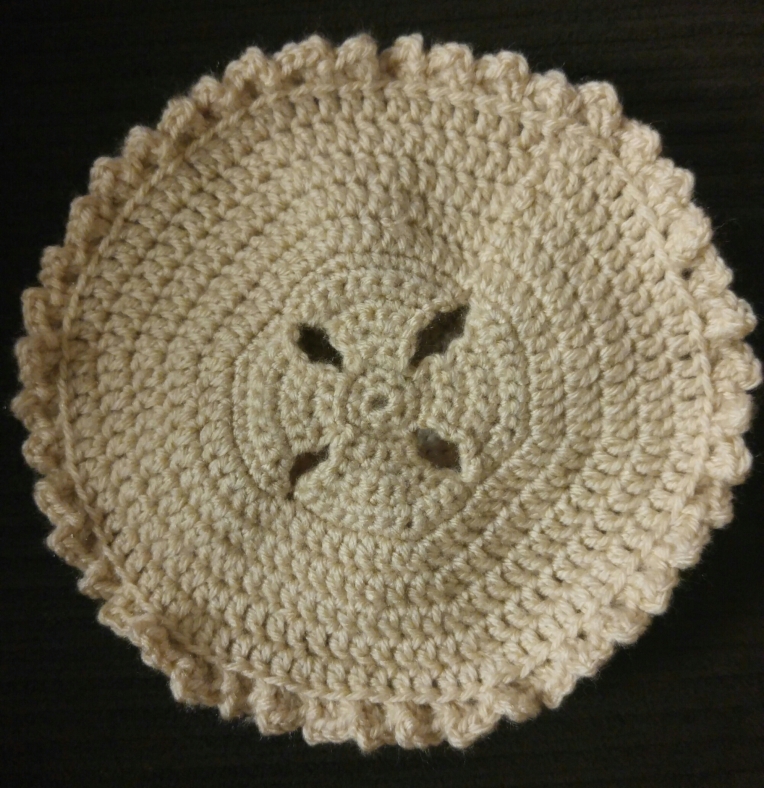
Top Crust: (with crust color)
*The section for the vents is borrowed with permission from the Apple Pie Potholder pattern from Book People Studio*
R1: 6sc in magic ring. Sl st in first sc to join. Ch 1.
R2: 2 sc in each sc acound. (12 sc) Sl st in first sc to join, ch 1. You will now work four separate sections in rows, one at a time, into the 12sc you just made.
R3: sc in nxt 3 sc. (3 sc), ch 1, turn
R4: sc, inc, sc (4 sc) ch 1, turn
R5: sc, sc, inc, sc (5 sc) ch 1, turn
R6: sc, sc, inc, sc sc (6 sc) ch 1, turn
R7: inc, make one sc in each of the nxt 4 sts, inc (8 sc) ch 1, turn
R8: inc, sc, inc, sc, sc, inc, sc, inc (12 sc). Fasten off section, and weave in ends.
Join yarn to next unworked sc in Row 2, and repeat rows 3-8. Do this two more times for a total of four panel sections.
R9: Join yarn in upper right-hand corner of any panel. As you work this row, you’ll sc in each st of all four panels. This row joins row 8 of all four panels together. Follow this pattern to sc around: (Sc in each of next 7 sc, inc in next) repeat around (54 sc). Sl st to join to first.
R10: Ch3. 1Dc in next seven stitches, 2dc in next. (8dc, 2dc in next) around. (60) . Join to first with slst.
R11: Ch3. 1Dc in next eight stitches, 2dc in next. (9dc, 2dc in next) around. (66). Join to first with slst.
R12: Ch3. 1Dc in next nine stitches, 2dc in next. (10dc, 2dc in next) around. (72). Join to first with slst.
R13: Ch3. 1Dc in next ten stitches, 2dc in next. (11dc, 2dc in next) around. (78). Join to first with slst.
R14: The last row of Dc is a little funny, to get it to lay flatter. Chain 3, dc in next 12 stitches, 2dc in next. (4dc, inc, 7dc, inc) around (90). Join with slst to first.
R15: The fancy crust edge is worked like so – (ch 2, 3 hdc in next st, slst in next stitch) around. Finish off and weave in ends.
Now you have all your pieces! Kids can make pie again and again and practice counting and sorting at the same time.
I hope this pattern is easy and clear to follow, I tried to write it as beginner friendly as I could. If you see any mistakes let me know in the comments!
Happy Hooking. 😁
From the Desk of MamaBice_Makes

This is adorable and would be a good solution to the family who, when sitting down for dinner, asks “are we having pie for dessert?”
My niece has been begging me to teach her to crochet. Apple slices would be a good first project (with strict instructions that apple peels should be removed prior to cutting the apples!)
Thanks for the pattern and for making it free, too! God bless you and your family.
LikeLike
You are very welcome! I have a niece begging to learn too, and I just have to wrangle both our schedules so I can teach her. 🙂
LikeLike
Do You think it would be worth it to add cardboard and felt to the bottom to make it sturdier? Or does it hold up well on its own? Going to make one for my baby who turns one tomorrow…it’s an apple of my eye party theme! And one for a little friend who turns one the week after. Thank you 😀
LikeLike
The only part that is sort of “floppy” is the sides of the bottom crust. Personally, I wouldn’t add cardboard. With little ones it’s nice to be able to manipulate the “dough” and learn to set the shape up. Plus it’s washable! 🙂 If you want the bottom stiffer, you could crochet a second bottom just like the first and sew it on, making it a double layer. 🙂 I would love for you to share pictures when you are done if you are on Ravelry or Instagram! 🙂
LikeLiked by 1 person
So cute! I’ll be making one for my daughter. Thanks for the free pattern!
LikeLike