As I have mentioned a few times, our vacation to Disneyland is fast approaching. In fact we are less than 30 days out! ::happy dance::
This year is the 60th Anniversary at Disneyland and that is a big part of why we decided to go to the West coast instead of Orlando for this trip.
I’m so excited not only because of all the new entertainment and updates, but also because this is my first time to Disneyland! I grew up in and around Orlando, and went to the World often and even worked there for a time. But I never did make it over to California for the Disneyland experience. So this is a first for me, which makes me even more super-planner than normal. Part of my planning of course involves crafting!
So without further ado, here is my tutorial for Mickey ears.
——
There are a lot of tutorials for ears out there and I think I read them all. So my ears are mash up of a lot of techniques and a bit of my own magic.
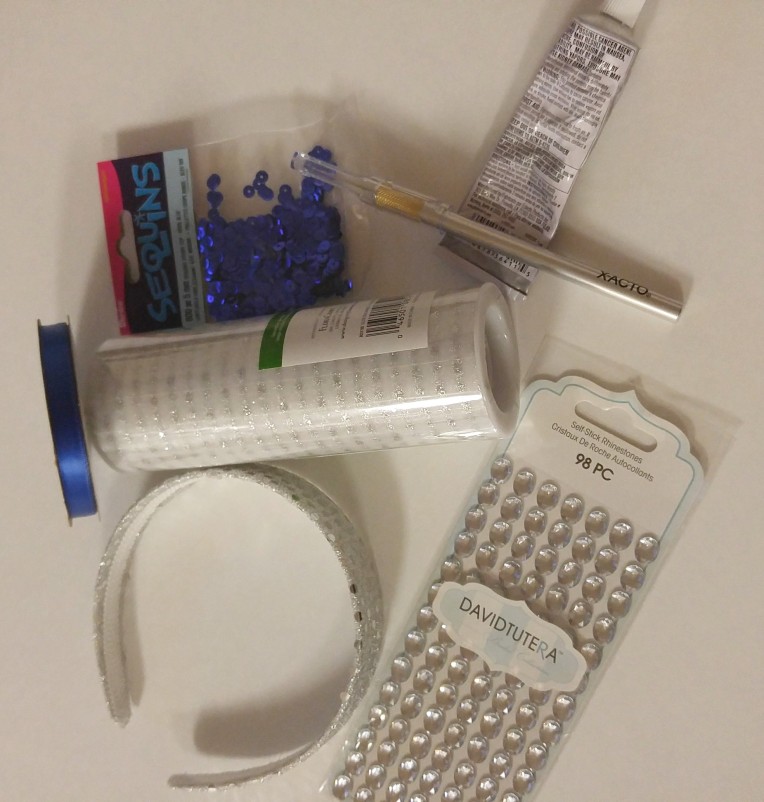
Here are my materials:
Silver headband – $1
Foam Board – $1
White fabric – stash
Batting – stash
Silver Sparkle Organza Ribbon – $3
Gems – $3
Blue Ribbon – $2
Glitter – stash
(i have sequins there but I didn’t end up using them)
This project cost me about $10 and one evening. Actually it cost less than $10 because I had coupons. If you did a different style or had more in your stash, it would cost less. Some cost saving tips – the Dollar Tree has foam board and it is much cheaper than the $4 stuff at target or Wal-Mart. If you use gems like I did, shop around. The gems in the jewlery section were $5 for half as many. The scrapbook section had gems at a $1 for 20. But the steal was in the wedding section – 98 for $3! I also used organza ribbon instead of buying formal wear fabric. The width was perfect, and it was $3 vs about $9 a yard. Now true, I wouldn’t have needed a whole yard. But I would have had more waste fabric that would be awkward to use elsewhere, where as this ribbon can be used easily (and with no fraying) on wreaths or other projects. The bottom line is to shop around and find the best deal you can, even if it from an unorthodox section of the craft store.
Now on to the crafty-glueing-sparkly part!
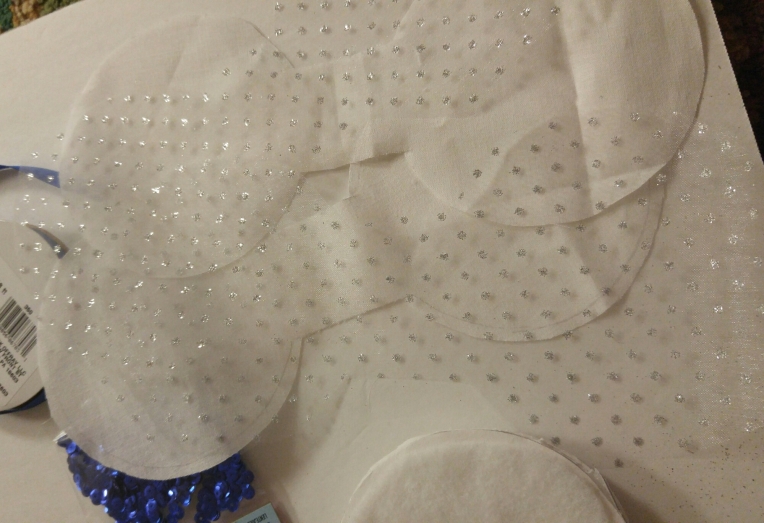
First I made some templates. The first template was the curve of my headband (i held it open a bit to get the curve like if it was on my head) with the ears traced on (i used a large cup). The second template was the same round circles, but connected in the middle with a strip, like a bow tie type shape. This gives you the front and back, and fabric to wrap around the head band.
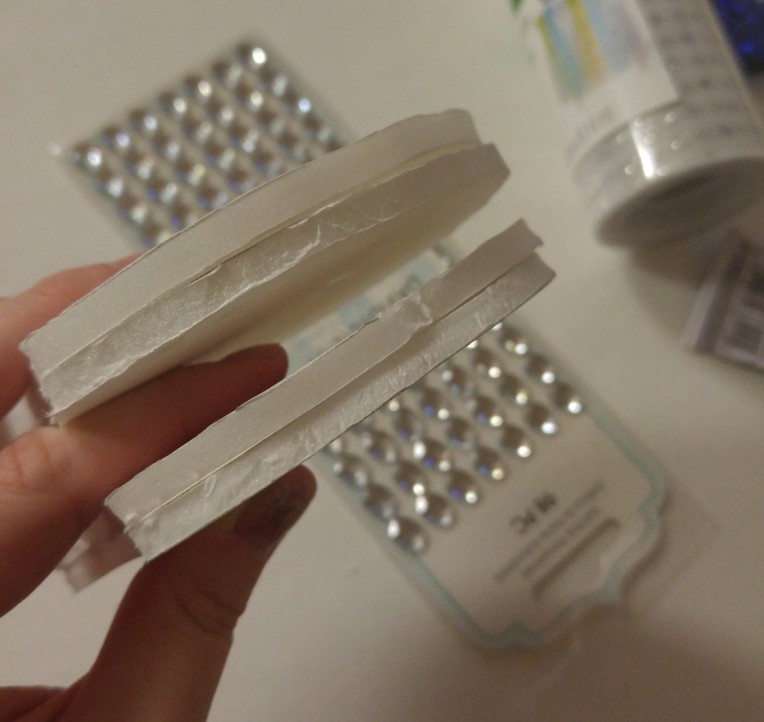
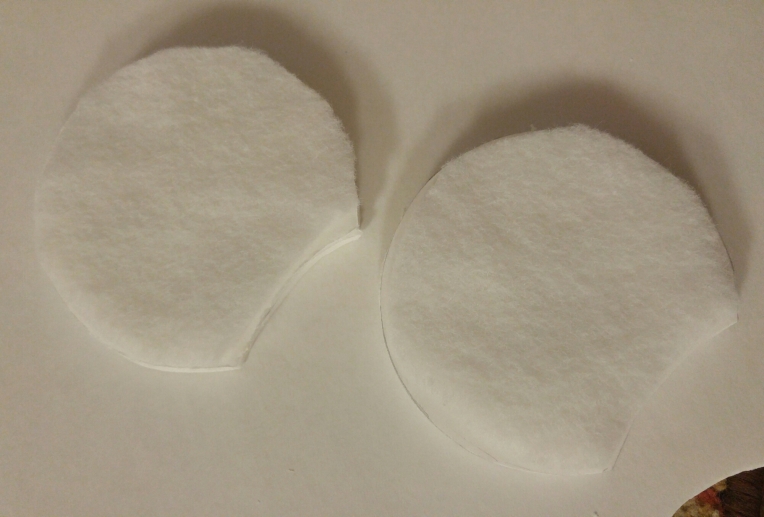
Then I cut out four of the ear shapes, because I needed the thickness of two pieces of the foam board together. I cut out the fabric (bow tie looking) template out of the foam board too, just in case I want to make more ears later.
I cut out the fabric with the fabric template, leaving a small seam allowance around the ear section. Make the seam allowance basically the width of the edge of one piece of your foam board. You will fold this over and glue it down later.
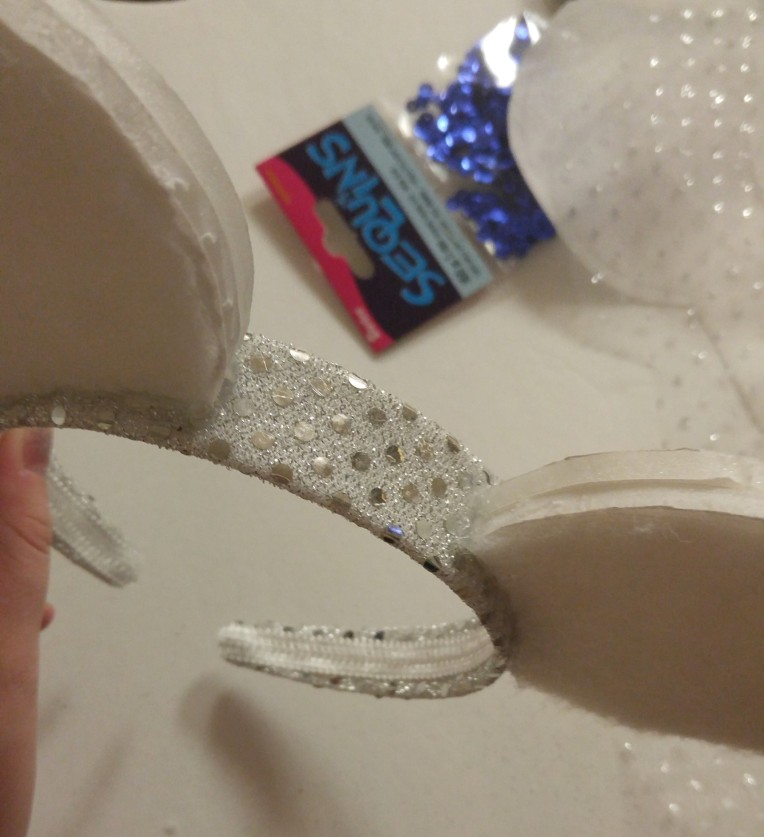
Then I glued each pair of ears together to get the thick ear I wanted. If you have a skinny headband you can skip this step and just use one piece of foam for each side.
Then I let them dry while I had some ice cream.
I added a bit of batting to the front of each ear too. This is optional, but I wanted a bit of plush-ness on the front of the ears. I just cut the batting slightly smaller than the ear and glued it down.
Next step is to glue the ears to your band. Now here is a word of caution – if you only use hot glue and are traveling in hot months, you might have your ears fall apart. Hot glue will remelt if left in the sun! And that includes on your head in the sun. Now I’m taking a winter trip, but I used E600 glue too just to be sure. So I ran a stripe of E600 on the band where each ear would go, then I put hot glue on the ear itself and pressed them on. Then I ran a bead of hot glue around the base of the ear to be extra sure. And I held them firmly until it was totally dry. They seem solid. So hopefully they won’t go anywhere!
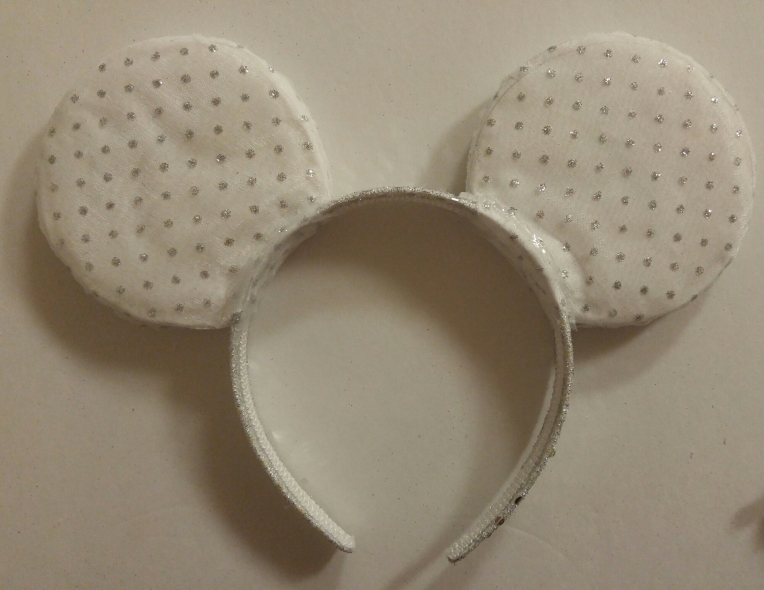
Now you get to cover them in fabric! Now I have two layers of fabric, so it took a bit of time. If you only have one layer, it will be faster and that means less finger burns from hot glue. 😋 Tip : use a scrap of your fabric to smooth down the fabric and hot glue so you don’t burn your fingers.
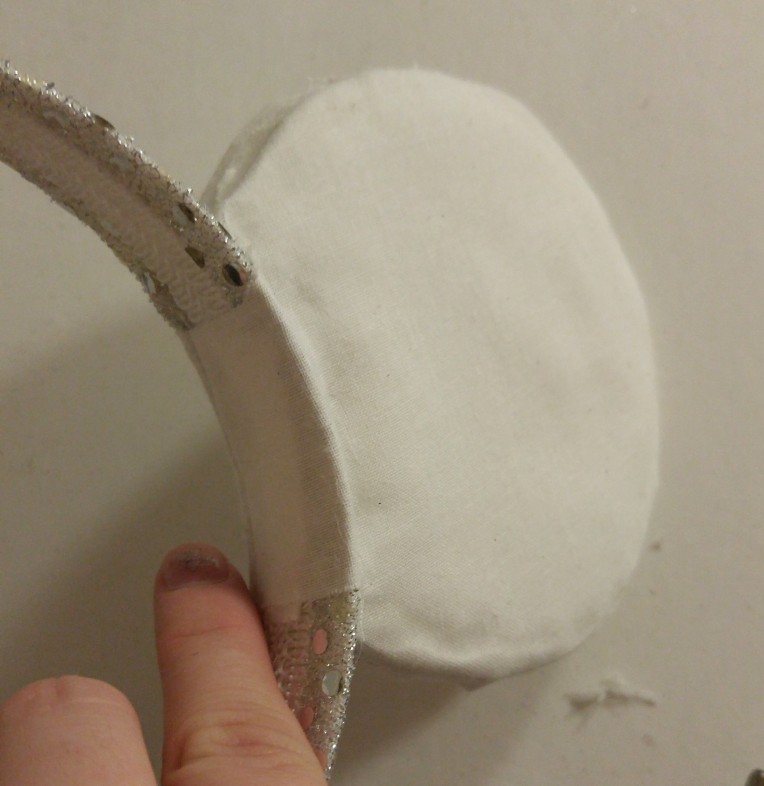
I glued the fabric to the front of the ear first, all around the edge. Then I glued the back side down the same way. This left me with the strip of fabric in the center, over the headband. Mine was a little big/long, so I just folded it down and glued. It wasn’t too bulky. This strip of fabric in the center does strengthen the ears, so that is why I did it this way vs just cutting the fabric from the ear template.
Go around the edge and glue down the seam around each ear. Don’t worry, we will cover this up with ribbon later. At the bottom where the ear meets the band, cut a slit in the fabric to get it to lay down nicely and use small scissors to trim away access. I won’t show the process for the organza ribbon fabric, because it’s the same thing.
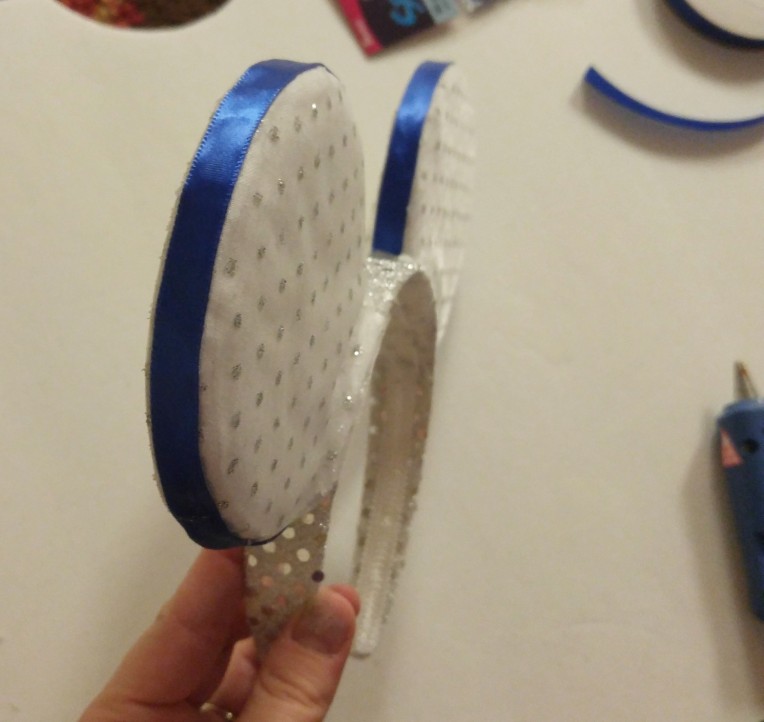
Then as mentioned, glue ribbon down the edge. I only run one small bead of hot glue, going in sections, to stick this down. Try to make it neat and not smoosh out any glue. This is the pretty edge. 😊
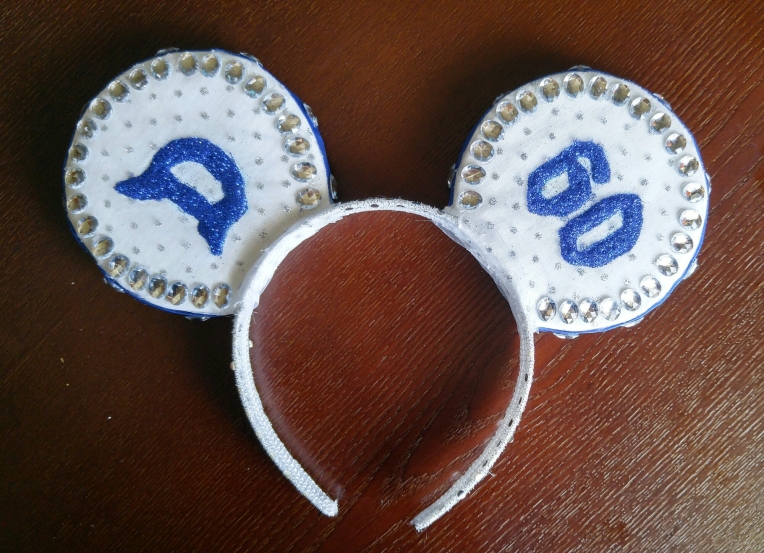
Now if you don’t want any other details, you can stop here! With patterned fabric or a minimalist design you would be all done if you wanted to be. But I wanted SPARKLE because this is for the 60th Anniversary and it’s all about diamonds. So I put diamonds around the edge of the ribbon at intervals, and then gems all around the ear on front.
And…nope, still not done. I wanted more SPARKLE. So I drew on the “D” in the vintage Disney font, and the 60 on the other side. Then I filled with glue and put on fine Disney blue glitter.
Now I’m not sure if you can see, but the permanent marker I used to draw the letters ran when I glued! Ugh! At least it was blue and not black. But it was bugging me so I went back and painted white in the bad spots once the glue was dry. So don’t be like me – use a pencil.
Now they are all done! I can’t wait to wear them at the parks! I might have to make myself a Christmas pair too…we’ll see. They only took a few hours in the evening, and that was while I watched TV. So not too bad. You could add a bow to the middle, change the fabric and ribbons, add 3D elements to the ear front…your only limit is your imagination.
Now I won’t ever sell ears. I will leave that to the masters who make amazing creations and variations on characters. But for those of us who like to break out a glue gun and glitter, I hope this helps!
From the Desk of MamaBice_Makes


