OOAK Dolls and Wrapping Up Orders

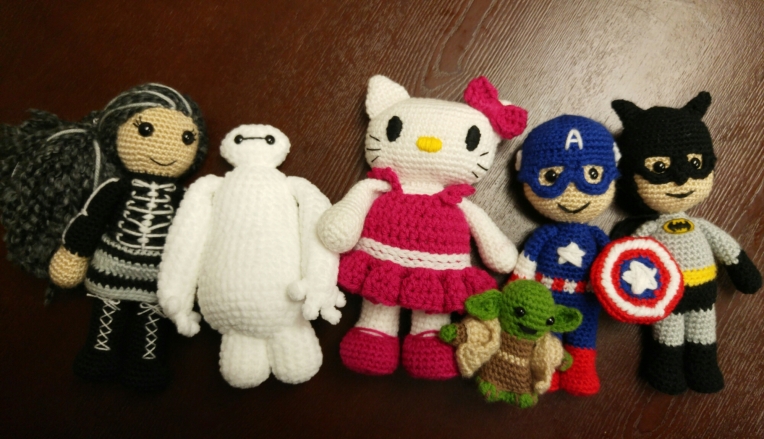
Whew! I have been busy crocheting like mad. The big order I have talked about is finally done! Six figures, including two designs I’ve never made before.

image

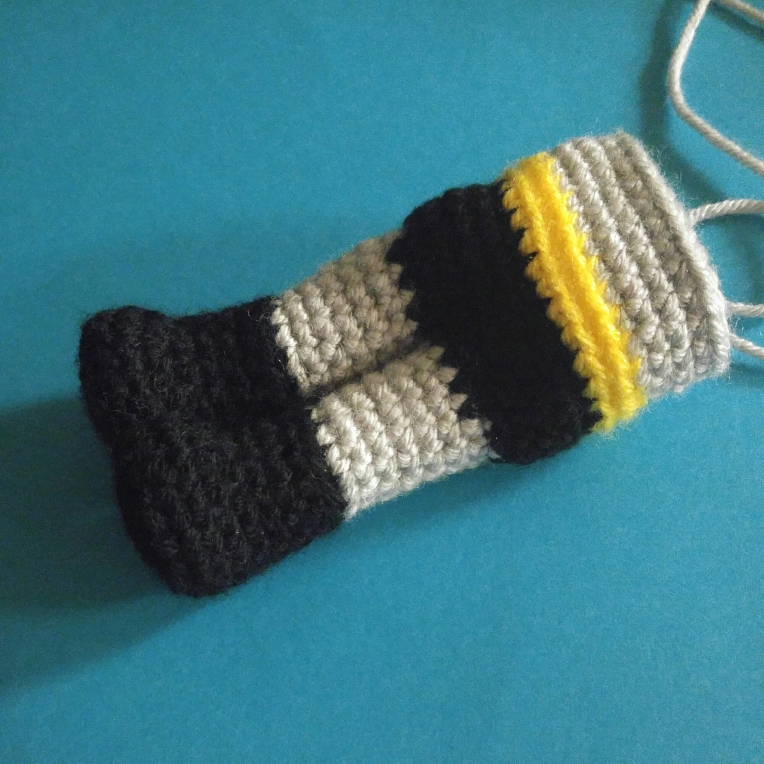
The Batman is not a new design – he’s the same as Cap, just with alterations. I’m working on a whole hero line based on my pattern. The Hello Kitty (who’s design process I showed here) is new, and so is the doll to the left.

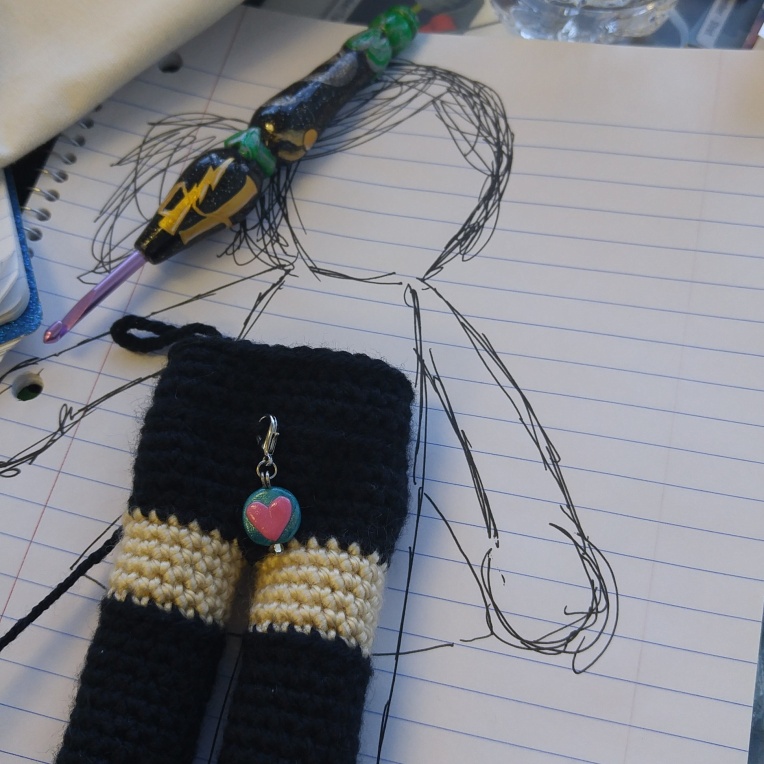
The Skeleton Girl doll was a request I wasn’t sure how to translate – a Monster High inspired doll, but more little girl and less sexy Barbie. Her design started with a base drawing for proportions.

image

When I design this way, I literally draw the idea life size and lay the doll on the drawing as I go to check size. It works very well for me. The legs, body, and head of this doll were all one piece, so less sewing was involved. But I made up for that easy sewing part with stitched details all over and over 100 strands of awesome mermaid-zombie hair.

image

I really love the grey hair versus going all black or some other color. It adds a lot of texure and sass.

And while Batman wasn’t a new design, he did get a cool feature – a hand stitched fabric cape. I didn’t want to make a crocheted cape because it would be heavy and not very bat-like. So this was fun to stitch up and add a special touch to the doll.

image

So that wraps up that order! Which of the group is your favorite?

From the Desk of MamaBice_Makes

Chicken and Dumplings from Scratch

image

There is seriously nothing quite like your favorite comfort food. It sticks to the ribs, makes you feel warm and fuzzy, and it’s just plain good. In our family, my chicken and dumplings are the official comfort food. The recipe is old and my recipe card has been through a lot. It might be time to write it down again.

image

It’s also in my lovely shorthand directions that confuse people. Don’t worry, I’ll give you actual directions in a moment. Well, other than exact salt and pepper ratios. You know how much salt you like, so go with your normal amount. If you get done and it’s not enough, just add it at the end. I’m a bit of a “pinch” cook and don’t get too crazy with measuring most things.

This meal is pretty quick and it’s cheap, fills you up, and feeds probably 6-8 people. I make a lot so that we have leftovers as a family of four with two little kids.

Ingredients:

– Two chicken breasts
– 2 cups chopped carrot
– 1 cup peas
– 1/2 cup chopped onion
– 1/2 cup chopped celery
– Spices – salt, pepper, herbs de provence, bay leaf
– 1 clove minced garlic
– water

For dumplings
– 2 cups all purpose flour
– 1 tbsp baking powder
– 1/2 tsp salt
– 1/2 cup cold butter (one stick)
– 1/2 cold water

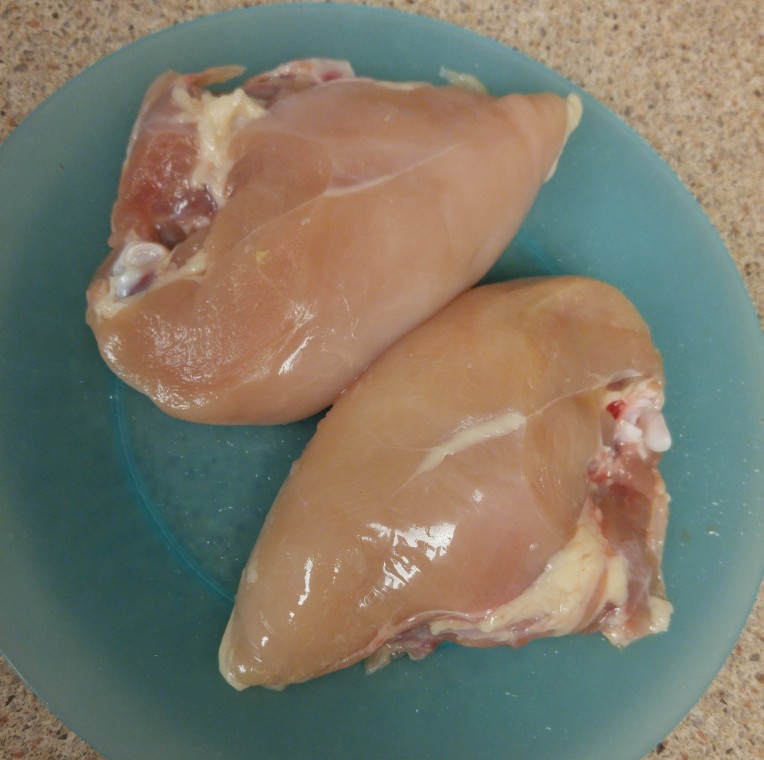
Fill your large pot 10 cups of water and bring to a boil. Drop in your chicken breasts along with about a tbsp of herbs de provence, salt, and a bay leaf. I’ll be honest I don’t really measure my spices very often.

image

image

I sort of rub the spices in my hand while I drop them in to let them give some more flavor. I love this herb mix for basically any chicken dish! I also used on-the-bone chicken breasts because I got a killer deal on them. I have to shred it no matter what, so the rib bones aren’t a big issue.

Let this simmer while you get your veg going.

Now a word here – I tend to buy my “soup veggies” (onion, carrot, celery) in bulk and chop them all up and then flash freeze them and bag them up. This makes my prep on week days so much faster! The flash freezing is the important step so that they stay nice and don’t get freezer burn.

image

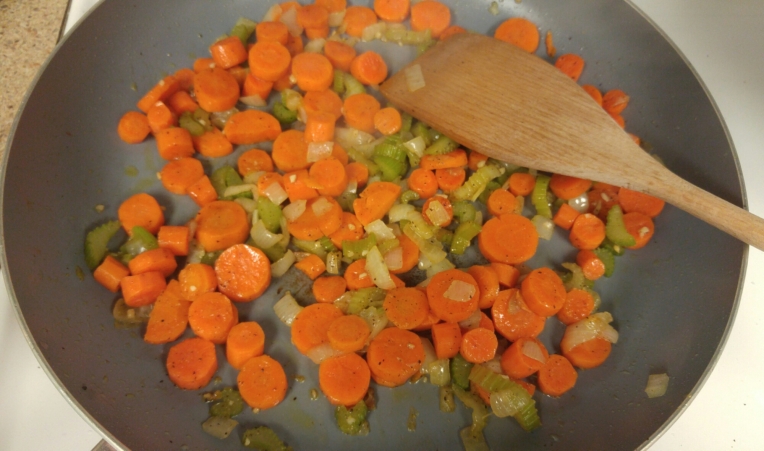
So anyway…on to the cooking! Put your onion, carrot, and celery in a pan with a bit of olive oil over medium heat. Add your garlic and season with salt and pepper and a bit more herbs. Seasoning every portion of a soup or stew gets the flavor going and saves you from taking a trip to Bland Land.

Let this cook down until you start to see a touch of color on the onions. Everything will smell amazing and look amazing.

image

Once this is done, turn off the burner and just leave it for a minute. By now your chicken should be done, so remove it and shred it. Return it to the pot of simmering water (now chicken stock!) and add in the veggies (but not the peas yet).

Now on to the dumplings! This is a simple dough and makes lovely thick but still soft dumplings. They are comparable to Cracker Barrel style dumplings. (Some people prefer fluffy biscuit style dumplings – these are not like that).

image

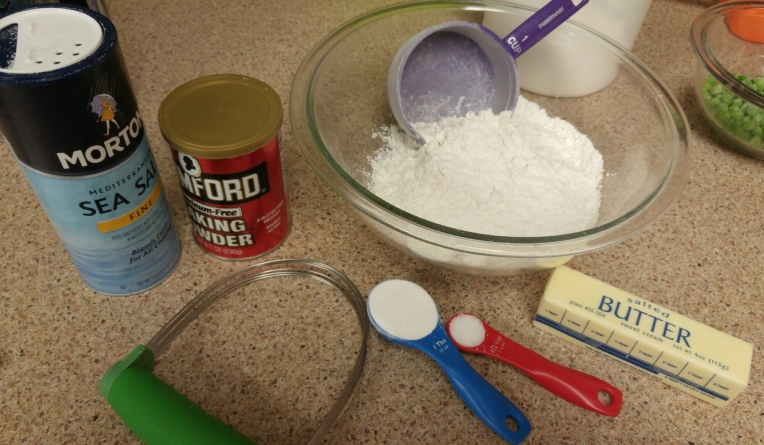
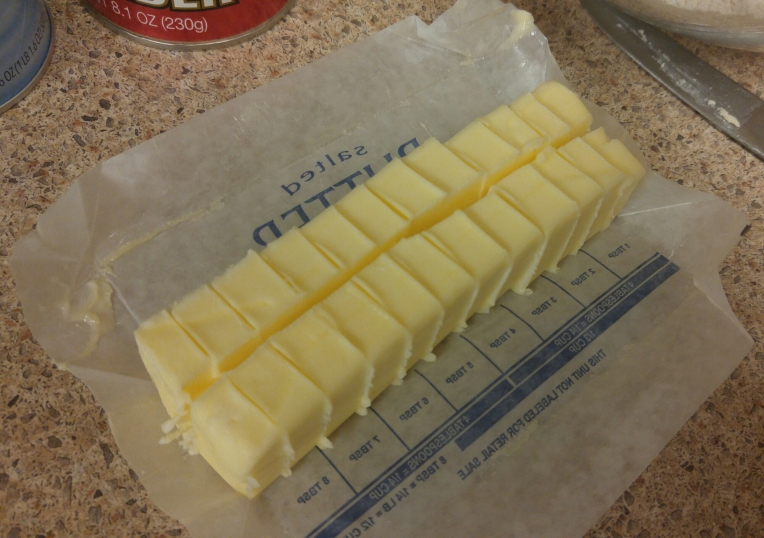
Mix your dry ingredients together (flour, baking powder, salt). Then cut up your butter into small pieces. This helps cut it in a bit easier. Try to do this quickly, because cold butter is the goal here.

image

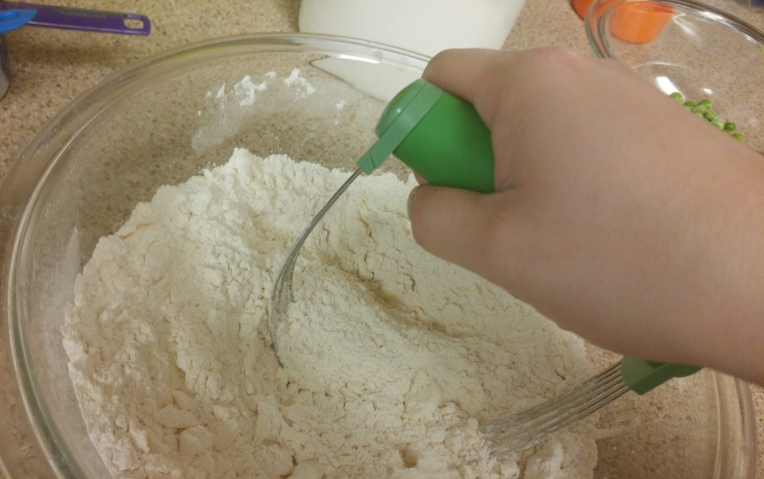
Blend it in until you have pea size pieces of butter throughout the flour. I use a pastry blender but a fork works just as well.

image

Once that is done, add your 1/2 cup of cold water. It doesn’t need to be ice water, but it should be cold. I use water from my fridge. Mix this in gently with a spoon. Its more of a folding and scraping thing than mixing. Don’t over work it. It will look like this:

image

At this point you want to gently knead it in the bowl a few times so it comes together. Again, don’t over work it or it will get tough. Then turn it out on your lightly floured counter.

image

Roll it out to about 1/4 inch or a little thicker. It doesn’t have to be pretty. You are about to cut it anyway. At this point turn your chicken soup up from a simmer to a boil.

image

Now you need to cut this lovely weird shape into dumplings. My secret weapon – a pizza cutter! Cut into 1in or 1.5in squares. Roughly big bite size. If you have weird little pieces at the sides don’t worry. They are yum too.

image

Check that your soup base is at a boil. Then sprinkle just a tbsp of flour over the dumplings. This extra bit of flour helps thicken the stock. When your soup is at a boil, throw in the dumplings a hand full at a time, stirrring gently between hand fulls.

Your dumplings will now look like they have soap in them. They don’t. Its normal. Don’t be scared!

image

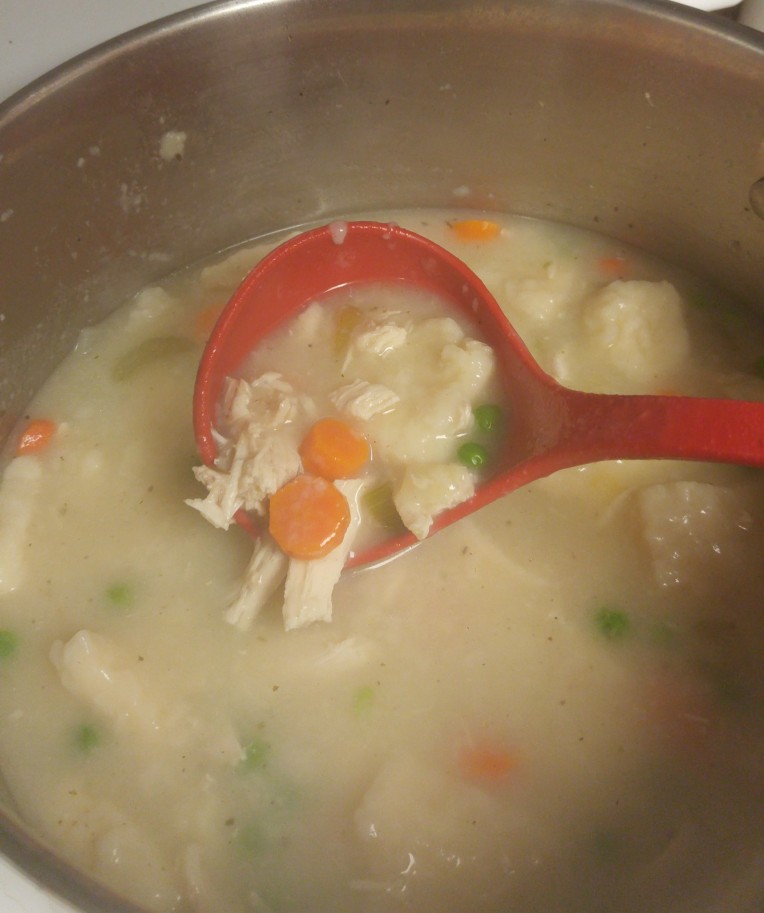
Once all dumplings are in, cover and turn down to low and simmer for 5 minutes. Then turn it off and let it cool. It will thicken a bit.

image

Then serve, adding a touch of fresh pepper to each bowl.

image

What are your favorite comfort foods? Do you have family recipes that are close to your heart and stomach?

From the Desk of MamaBice_Makes

DIY Mickey Ears

As I have mentioned a few times, our vacation to Disneyland is fast approaching. In fact we are less than 30 days out! ::happy dance::

This year is the 60th Anniversary at Disneyland and that is a big part of why we decided to go to the West coast instead of Orlando for this trip.

I’m so excited not only because of all the new entertainment and updates, but also because this is my first time to Disneyland! I grew up in and around Orlando, and went to the World often and even worked there for a time. But I never did make it over to California for the Disneyland experience. So this is a first for me, which makes me even more super-planner than normal. Part of my planning of course involves crafting!

So without further ado, here is my tutorial for Mickey ears.

——

There are a lot of tutorials for ears out there and I think I read them all. So my ears are mash up of a lot of techniques and a bit of my own magic.

Here are my materials:

Silver headband – $1
Foam Board – $1
White fabric – stash
Batting – stash
Silver Sparkle Organza Ribbon – $3
Gems – $3
Blue Ribbon – $2
Glitter – stash
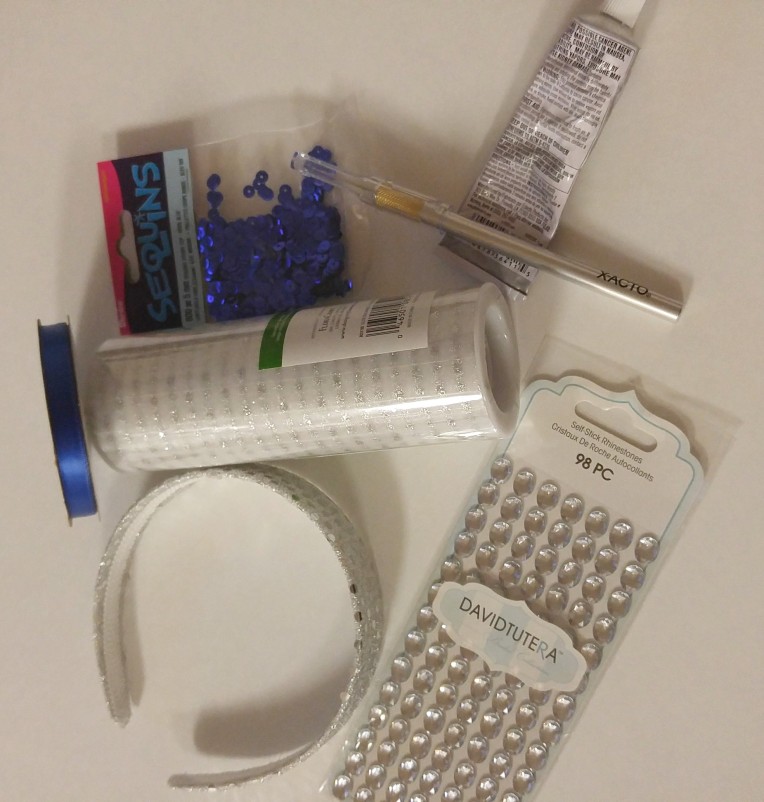
image

(i have sequins there but I didn’t end up using them)

This project cost me about $10 and one evening. Actually it cost less than $10 because I had coupons. If you did a different style or had more in your stash, it would cost less. Some cost saving tips – the Dollar Tree has foam board and it is much cheaper than the $4 stuff at target or Wal-Mart. If you use gems like I did, shop around. The gems in the jewlery section were $5 for half as many. The scrapbook section had gems at a $1 for 20. But the steal was in the wedding section – 98 for $3! I also used organza ribbon instead of buying formal wear fabric. The width was perfect, and it was $3 vs about $9 a yard. Now true, I wouldn’t have needed a whole yard. But I would have had more waste fabric that would be awkward to use elsewhere, where as this ribbon can be used easily (and with no fraying) on wreaths or other projects. The bottom line is to shop around and find the best deal you can, even if it from an unorthodox section of the craft store.

Now on to the crafty-glueing-sparkly part!

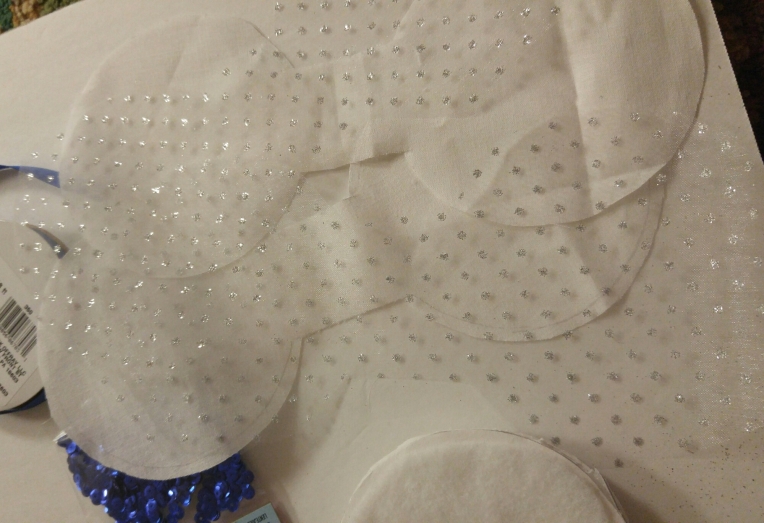
First I made some templates. The first template was the curve of my headband (i held it open a bit to get the curve like if it was on my head) with the ears traced on (i used a large cup). The second template was the same round circles, but connected in the middle with a strip, like a bow tie type shape. This gives you the front and back, and fabric to wrap around the head band.

image

Then I cut out four of the ear shapes, because I needed the thickness of two pieces of the foam board together. I cut out the fabric (bow tie looking) template out of the foam board too, just in case I want to make more ears later.

image

I cut out the fabric with the fabric template, leaving a small seam allowance around the ear section. Make the seam allowance basically the width of the edge of one piece of your foam board. You will fold this over and glue it down later.

image

image

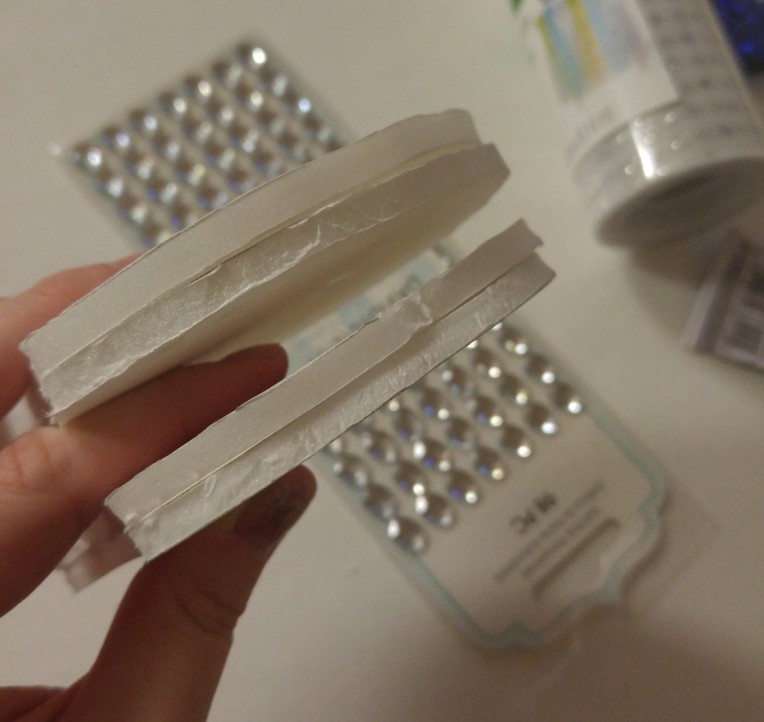
Then I glued each pair of ears together to get the thick ear I wanted. If you have a skinny headband you can skip this step and just use one piece of foam for each side.
image

Then I let them dry while I had some ice cream.

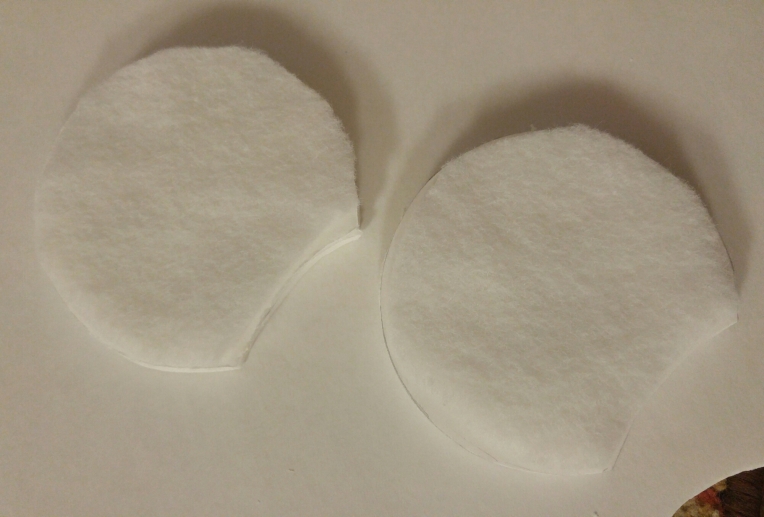
I added a bit of batting to the front of each ear too. This is optional, but I wanted a bit of plush-ness on the front of the ears. I just cut the batting slightly smaller than the ear and glued it down.
image

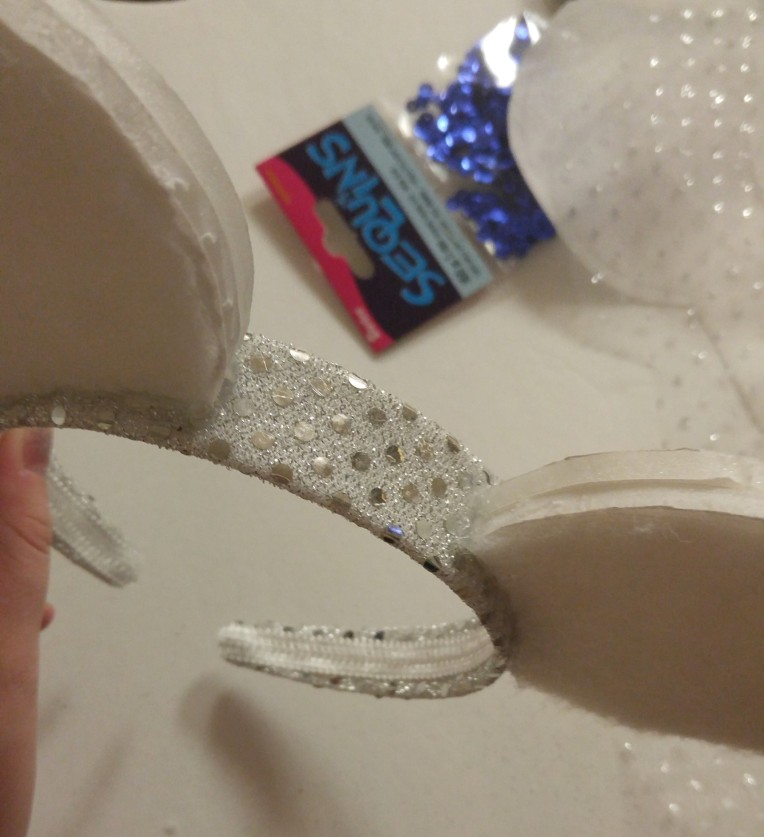
Next step is to glue the ears to your band. Now here is a word of caution – if you only use hot glue and are traveling in hot months, you might have your ears fall apart. Hot glue will remelt if left in the sun! And that includes on your head in the sun. Now I’m taking a winter trip, but I used E600 glue too just to be sure. So I ran a stripe of E600 on the band where each ear would go, then I put hot glue on the ear itself and pressed them on. Then I ran a bead of hot glue around the base of the ear to be extra sure. And I held them firmly until it was totally dry. They seem solid. So hopefully they won’t go anywhere!
image

Now you get to cover them in fabric! Now I have two layers of fabric, so it took a bit of time. If you only have one layer, it will be faster and that means less finger burns from hot glue. 😋 Tip : use a scrap of your fabric to smooth down the fabric and hot glue so you don’t burn your fingers.

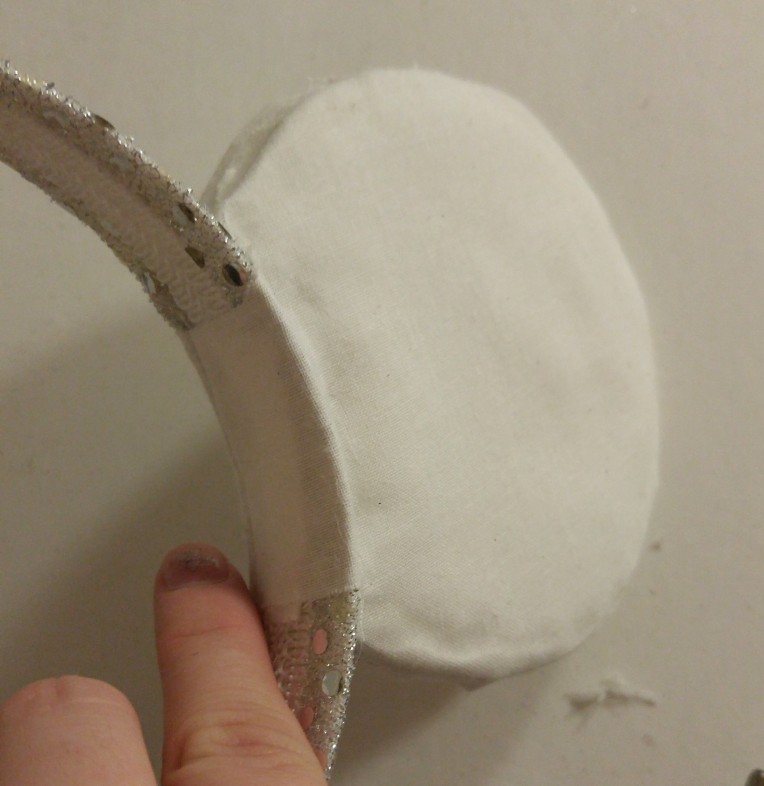
I glued the fabric to the front of the ear first, all around the edge. Then I glued the back side down the same way. This left me with the strip of fabric in the center, over the headband. Mine was a little big/long, so I just folded it down and glued. It wasn’t too bulky. This strip of fabric in the center does strengthen the ears, so that is why I did it this way vs just cutting the fabric from the ear template.
image

image

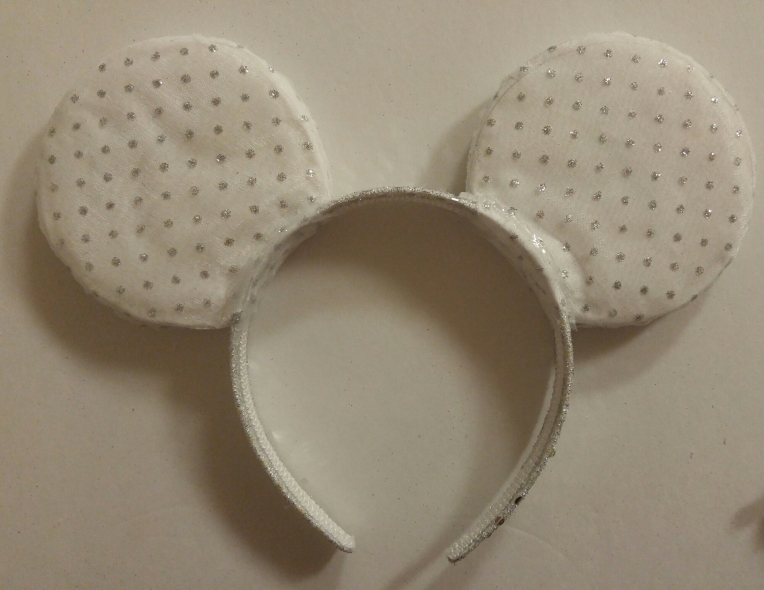
Go around the edge and glue down the seam around each ear. Don’t worry, we will cover this up with ribbon later. At the bottom where the ear meets the band, cut a slit in the fabric to get it to lay down nicely and use small scissors to trim away access. I won’t show the process for the organza ribbon fabric, because it’s the same thing.
image

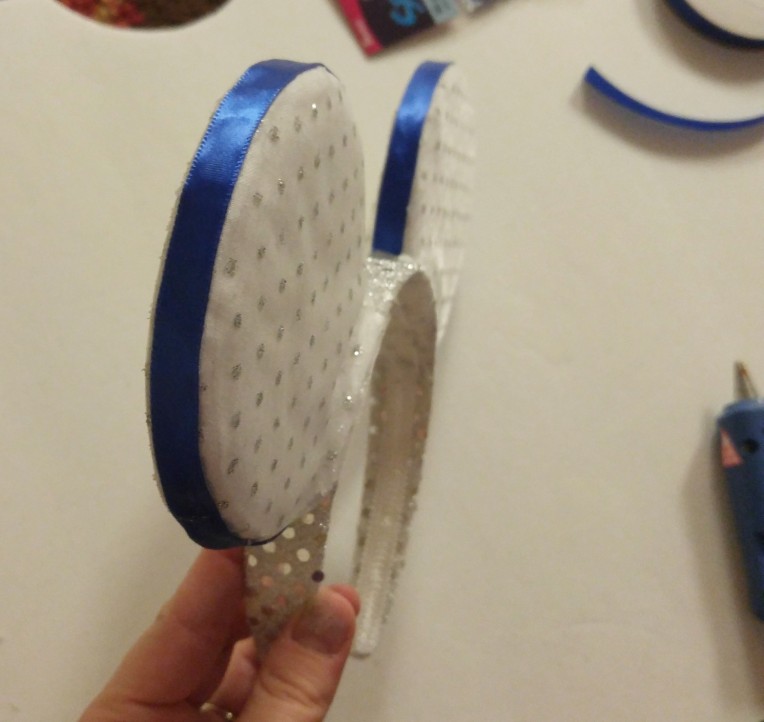
Then as mentioned, glue ribbon down the edge. I only run one small bead of hot glue, going in sections, to stick this down. Try to make it neat and not smoosh out any glue. This is the pretty edge. 😊
image

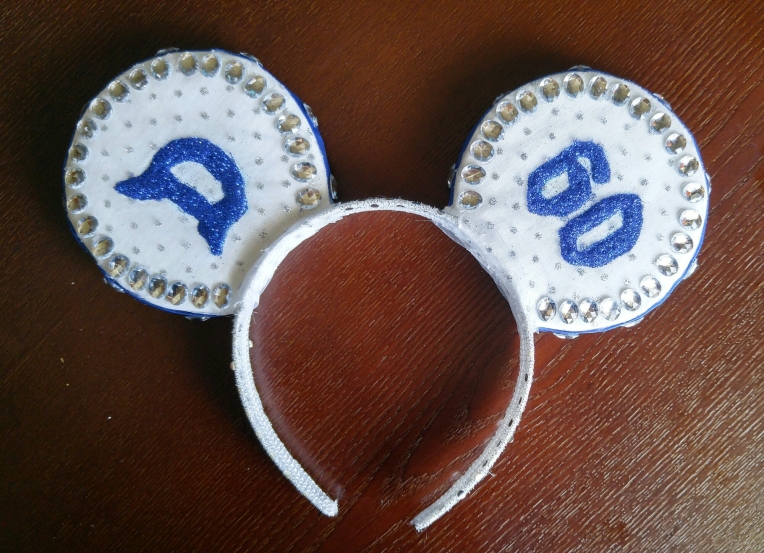
Now if you don’t want any other details, you can stop here! With patterned fabric or a minimalist design you would be all done if you wanted to be. But I wanted SPARKLE because this is for the 60th Anniversary and it’s all about diamonds. So I put diamonds around the edge of the ribbon at intervals, and then gems all around the ear on front.

image

And…nope, still not done. I wanted more SPARKLE. So I drew on the “D” in the vintage Disney font, and the 60 on the other side. Then I filled with glue and put on fine Disney blue glitter.

image

Now I’m not sure if you can see, but the permanent marker I used to draw the letters ran when I glued! Ugh! At least it was blue and not black. But it was bugging me so I went back and painted white in the bad spots once the glue was dry. So don’t be like me – use a pencil.
image

Now they are all done! I can’t wait to wear them at the parks! I might have to make myself a Christmas pair too…we’ll see. They only took a few hours in the evening, and that was while I watched TV. So not too bad. You could add a bow to the middle, change the fabric and ribbons, add 3D elements to the ear front…your only limit is your imagination.

Now I won’t ever sell ears. I will leave that to the masters who make amazing creations and variations on characters. But for those of us who like to break out a glue gun and glitter, I hope this helps!

From the Desk of MamaBice_Makes

The Craftys – I’m a finalist!

So a little while back I heard about the Craftys on Moogly. I had just released my Apple Pie Pattern, so I entered thinking that “hey, you never know.”

Well I got an email today saying that I’m a finalist! How cool is that?

image

I’m pretty excited! Check out all the finalists (especially the crochet category where I am!) Here. My link specifically is here and I would love it if you could vote for my design!

image

You can watch the awards tomorrow night 7pm EST here

https://www.youtube.com/embed/FkHLNYzkOSE

From the Desk of MamaBice_Makes

Hulk Just Needs a Cuddle

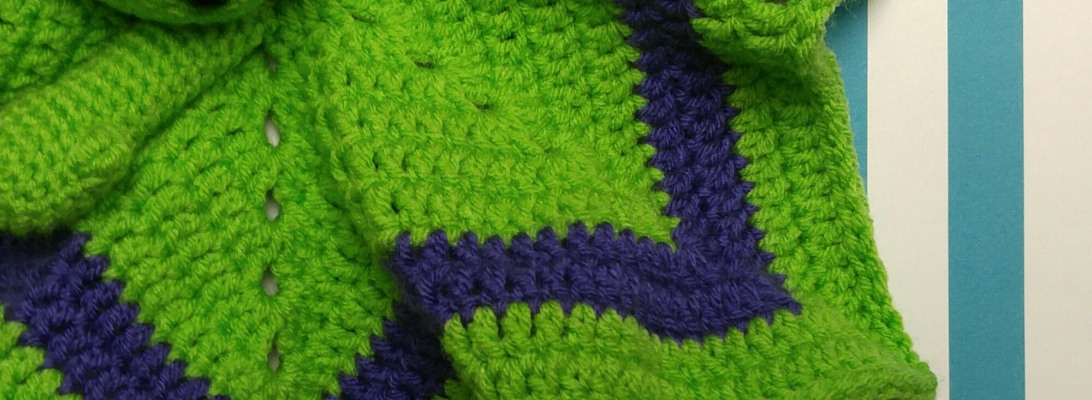
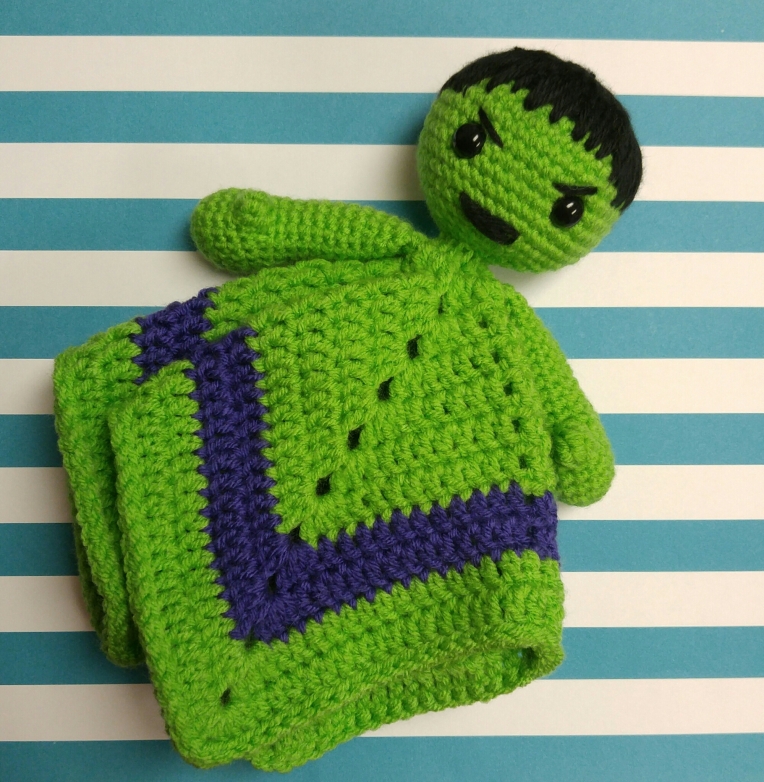
My Hulk Lovey Doll is complete!

image

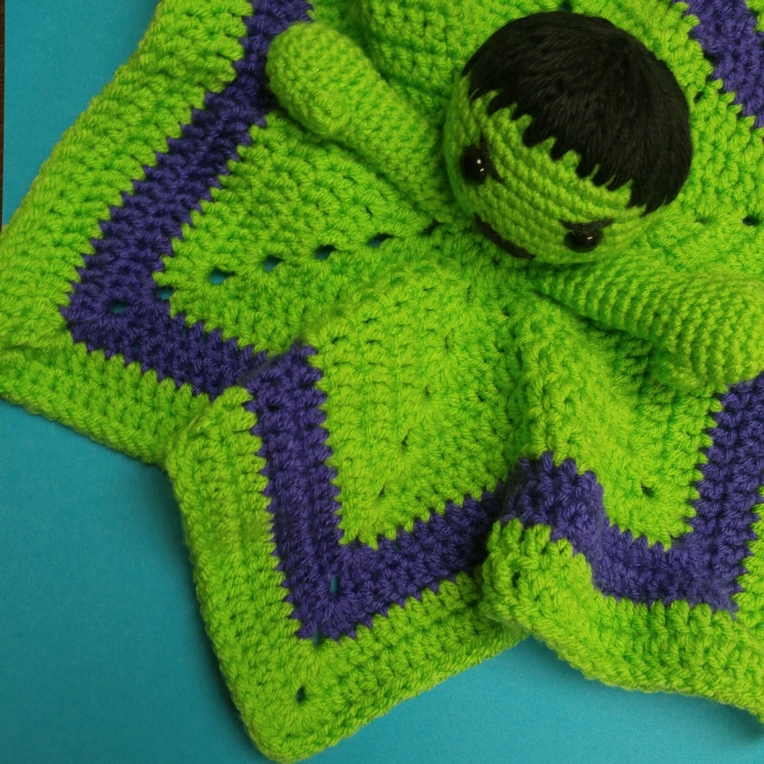
I really love his angry eyebrows and little scowl, all while still being adorable. I gave him big hands (unlike my Leia design) and thumbs too. To bring in his purple accent (his shorts) I created the band of purple towards the bottom of the blanket. What do you think?

image

On my list are Captain America, Batman, Wonder Woman, an Ewok, Yoda, Vader, and the Harry Potter cast. I’m sure I will think of some other geeky characters that need a cuddle! What other characters would you like to see in my baby/toddler Lovey Doll line?

From the Desk of MamaBice_Makes
New Designs and Toy Box Friends

Happy November!

Goodness me, I mean to keep up better here but don’t always get the chance. I have been crocheting like a mad woman to get orders out and clear some time for myself, painting, and trip prep.

image

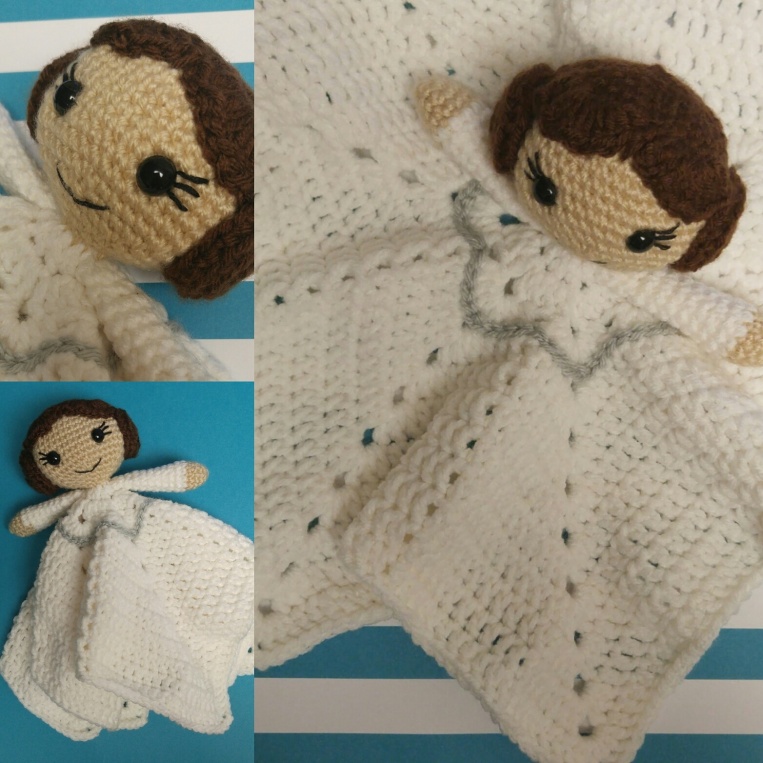
I have new Lovey Doll designs to work on. I have Leia done (I do love Star Wars characters!) and a Hulk doll on my hook right now. I need to make up another Baymax or two, and finish a Batman and a doll. Whew. No pressure.

image

image

I also have a craft swap to make for and I’m excited to be bringing out my paints for much of it. I don’t get to paint often, but it was really my first love in the world of art.

I’m also working on things for our Disneyland trip (in 30ish days!!!). Mainly I’m making some busy books/file folder games for the plane rides. A four year old and two year old on four plane rides…we are going to need an arsenal of things with us.

image

I’m making a Christmas tree decorating scene, a shape and button matching game, a Big Hero 6 matching puzzle game, Disney shadow match…and I’m sure I’ll add more things. Which reminds me I need to get laminating sheets…

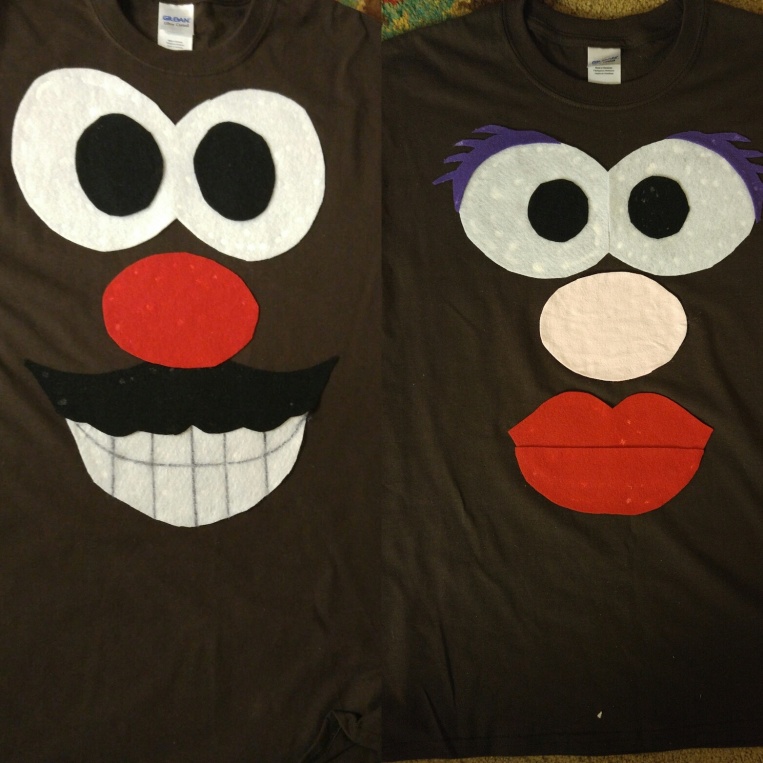
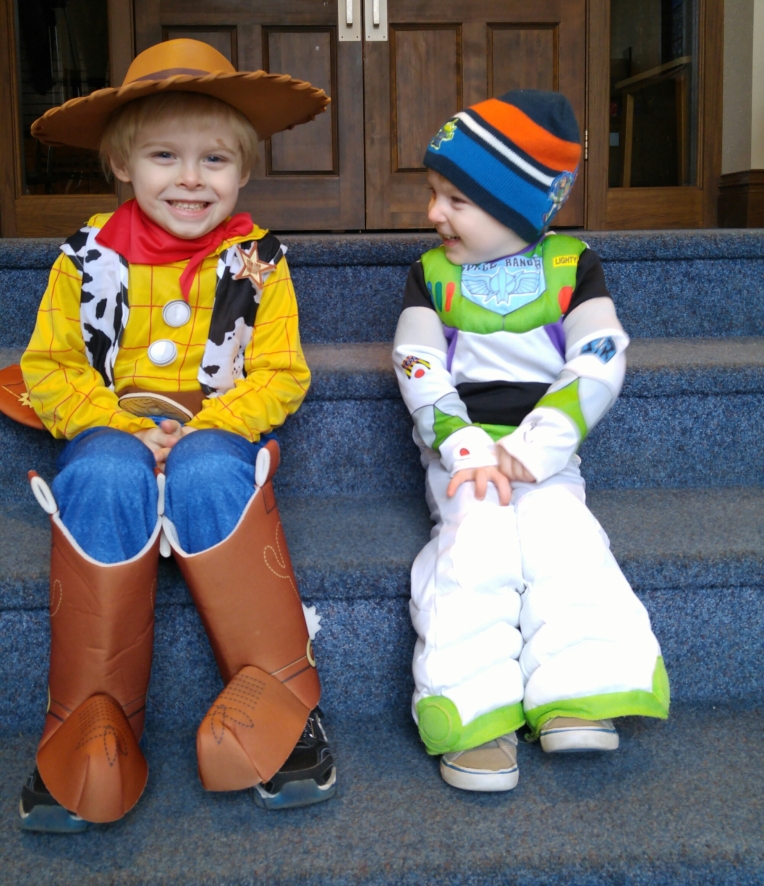
Halloween has come and gone and I can’t resist showing off our family theme this year – Toy Story! The kids are crazy for Toy Story and it’s just such a cute (and easy) theme to work with for a group. Our oldest was Woody, the youngest was Buzz, and daddy and I were Mr and Mrs Potato Head.

image

I made our shirts with just a long sleeve brown shirt, some felt, and glue. No sewing required! If I were to do it over I would have added the ears and the hats too, but I was going for quick and simple considering my long to do list. We were in the paper and on TV because of our family theme, so it was a lot of fun!

image

The kids aren’t going to let us do family themes forever, so I figure I’ll do it to the max for as long as I can!

image

I hope everyone had a good Halloween and is ready for a wonderful November. Keep an eye here for a lot of fun crafting and soon….Elf on the Shelf crafts! (yep, we are a crazy elf family!)

From the Desk of MamaBice_Makes